Are you looking for a cost-effective method of doing vulnerability scanning? Well, if you answered yes today, you’re in luck! I’ll be showing you one of the best free vulnerability scanners on the market. OpenVas.
So, as we all know, vulnerability management is a critical part of cybersecurity. However, the problem is a lot of organizations simply don’t have the budget or are not willing to invest in a paid vulnerability scanning solution that’s where openVas comes in. OpenVas is an open-source, free-to-use vulnerability scanner. This is perfect for organizations that don’t have the budget or are not willing to spend money to purchase a vulnerability scanning solution. It’s also perfect for someone who’s already working in cybersecurity and looking to get into vulnerability scanning. This is also ideal for you. There are a couple of other ways out there to install Openvas, but they’re very tedious, and you can encounter a lot of configuration problems if you don’t know what you’re doing. The method I’m showing you is the easiest, in my opinion.
Feel feel to follow also follow along with my Youtube video, where I also include some bonus content and show you how to peform actual vulnerability scans.
Openvas Setup
Let’s get into the actual demo. So first off, we want to open any web browser and head over to this URL: https://www.greenbone.net/en/testnow/ and download the Greenbone Enterprise file. This is basically a virtual image file, and you’ll need either Vmware Workstation or VirtualBox in order to open it.

So you’re going to click on download the OVA file. This is basically the image file. It should take you a couple of minutes, depending on your internet speed. Once downloaded, use your virtual machine manager of choice to import the file. Once imported, go ahead now and power on this virtual machine. This wizard will now take us through the actual setup process.
Next we’d see the IP address that we’d be using the access the Openvaz web gui, once the installation is completed. We’d also be prompted to enter the gsm username/password, by default this is admin/admin, all lower case letters.

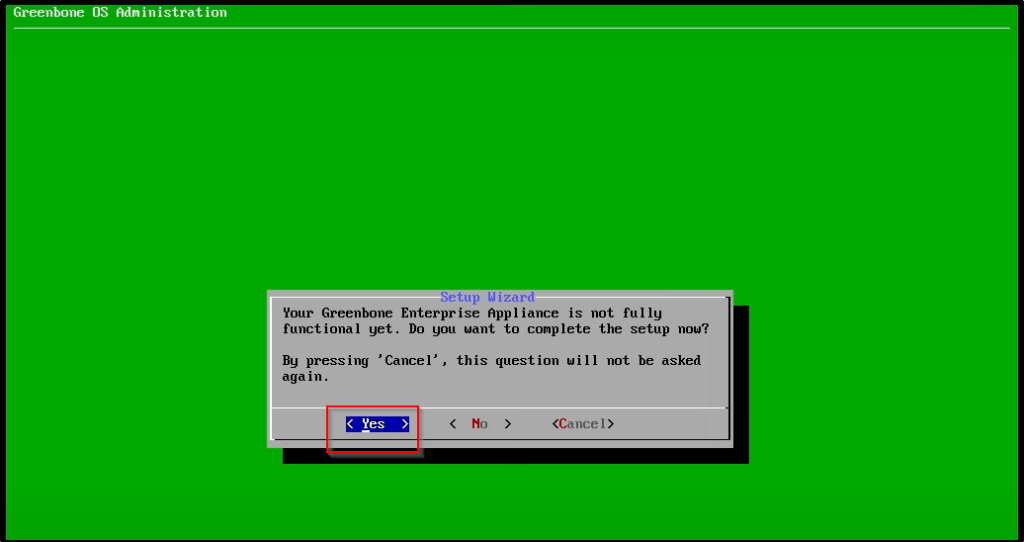
At the “Your green board enterprise appliance is not fully functional yet”, go ahead and select Yes.
The next screen would ask if “you want to create a global web admin now? ” Select Yes. So I’m going to keep this really simple. I’m just going to use admin. You can choose whatever you like.

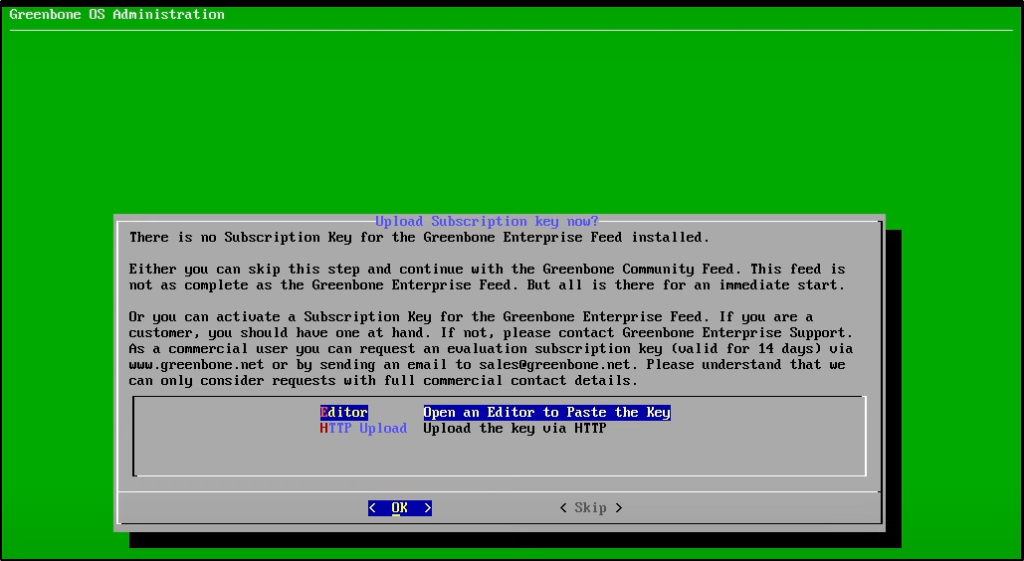
OK? So guys, there’s two ways you could use this You could use the enterprise feed which is a paid subscription or you could skip this and just use the free community feed, right? For this demo we’d be using the Community feed so go ahead and select Skip.
At the Green Bone at Os administration page, select the About tab. This would show useful information about our OpenVas instance, including the IP Address we’d be using to access the web interface.

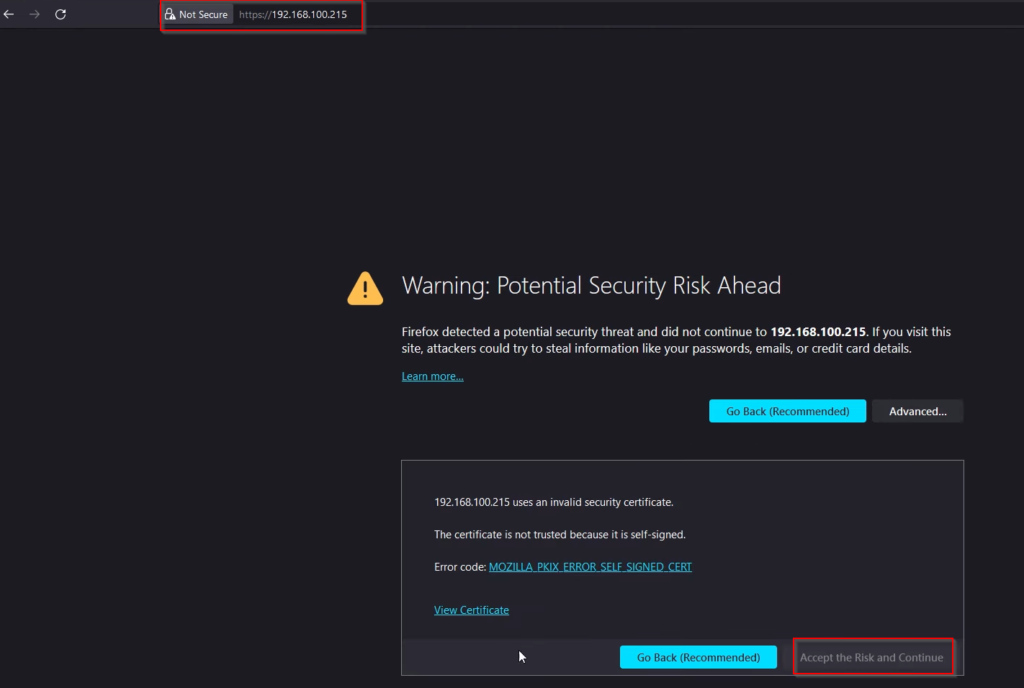
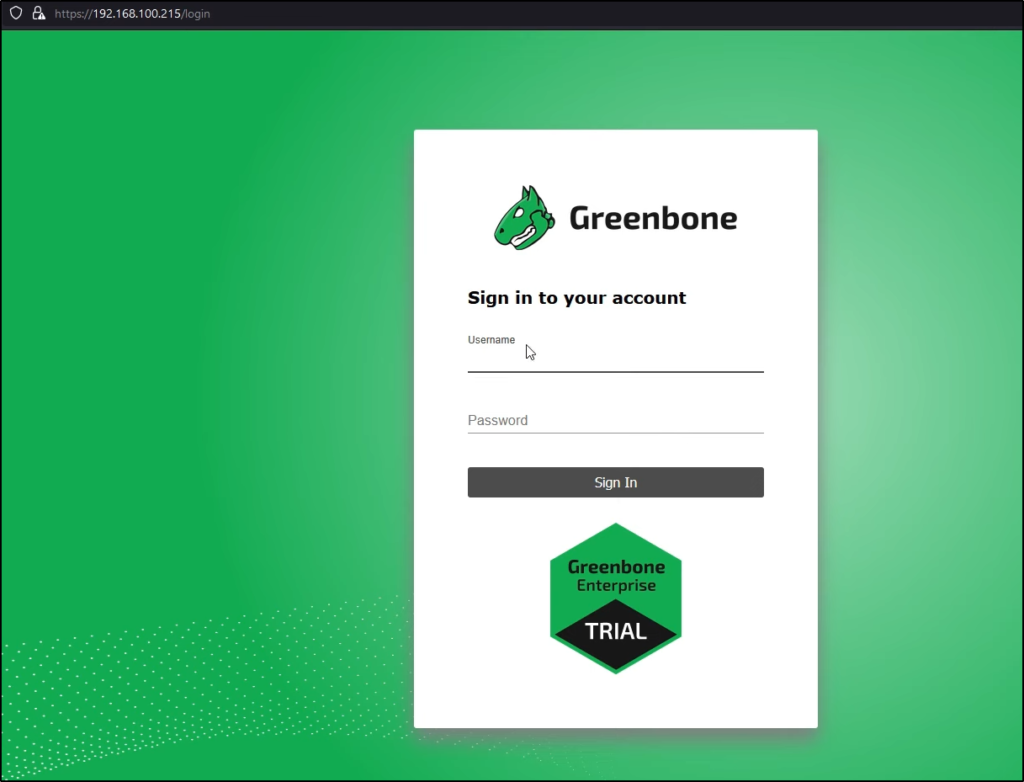
Open a web browser from any computer on the same network and enter the Openvas IP Address. You may get security warning however, this is normal since we’re using a self-signed certificate to access Openvas. Select Advanced > Accept the Risk and Continue.
We’d now be prompted to enter the username/password we created during the installation wizard.
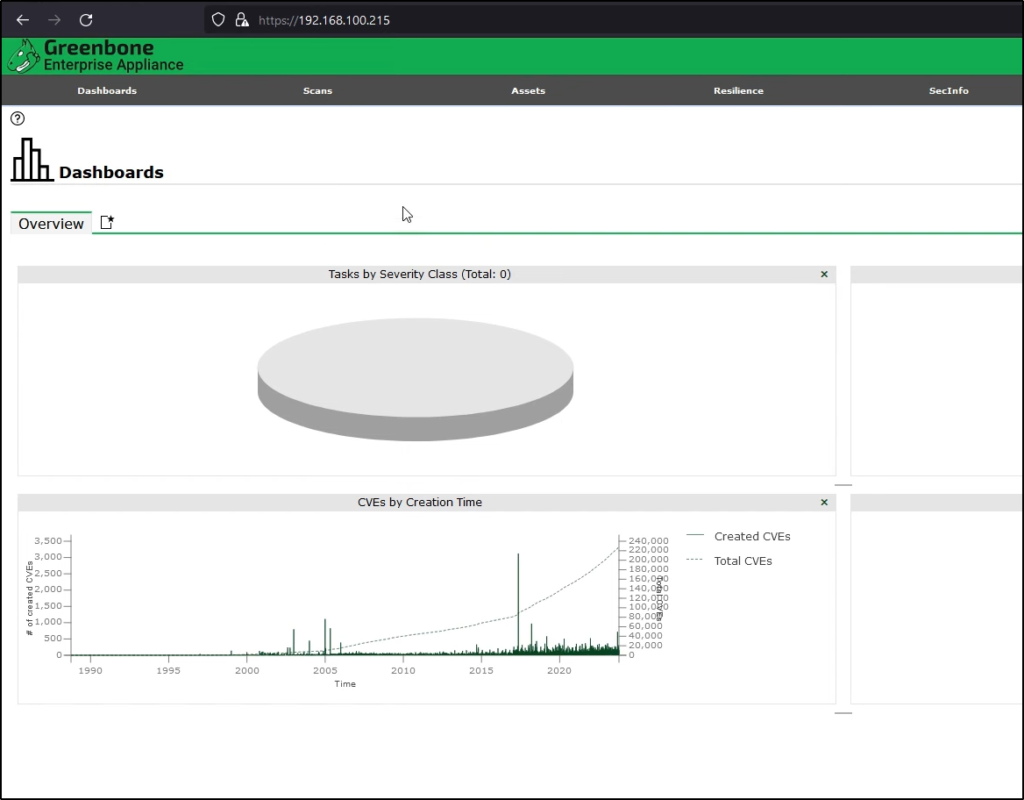
And viola you’d now see your OpenVas console. Here you can perform vulnerability scans, generate assessment reports and check the overall resilence of your network.
And on that note I conclude this article however, if you’re interested in learning more, be sure to check out my walkthrough video, where I show you how to perform scans, generate reports and other cool stuff. Also, please consider subscribing to my Youtube channel where I discuss all thing cybersecurity, computer networking and much much more !!!
In closing are you experienced in performing vulnerability assessments ? If you are let me know what tools you use in the comments below, Cheers!


